Sunday, December 21, 2008

Silent Knight

Work on KITT has been a bit slow lately, but I did manage to get my lower console almost finished. Note the placement of the window switches - same location as the hero car!


More to come in the new year, including a very special part never replicated before!

Joe

Saturday, November 29, 2008

Knight Light

A quick update - I have made some good progress on the nose sculpt over the holidays. I've added more putty and finally cut out one of the fog light openings. I've also roughed in the driver's side. It's almost time for the fun stuff (sanding, sharpening lines, etc). I'm really starting to get excited - this nose is turning out better than I could have ever dreamed, considering I have next to no background in sculpting:


Thursday, November 20, 2008

Cold Winter's Knight

Hey everyone, progress on KITT has slowed a bit due to the chilly temps we've had here lately, but there is some news to report. First, progress on the nose sculpt. It's going extremely well, I have the passenger side nearly sculpted (minus the lower dam) and I've started 'glassing it:


Also, check out this score. I recently acquired two front windshields for my replica. However, these aren't just any windshields, these are NEW OLD STOCK windshields from the original series! Note the lack of window tint across the top! I bought two so I'd have a spare, in the event something happens to the one in my car. This are rare pieces for sure, 2 out of, well, not many left!


Hopefully more to come soon as I want to get this nose sculpt finished!

Saturday, October 25, 2008

"Scanners Indicate an Opening, Michael."

I made some more progress on the front nose sculpt today. I used the tracing I had of a real season 3 screen used bumper and transferred it to the passenger side of my nose. Also, I cut out half the scanner opening:


Sorry for the short post - more to come soon!

Tuesday, October 21, 2008

K.I.T.T. Foam Home

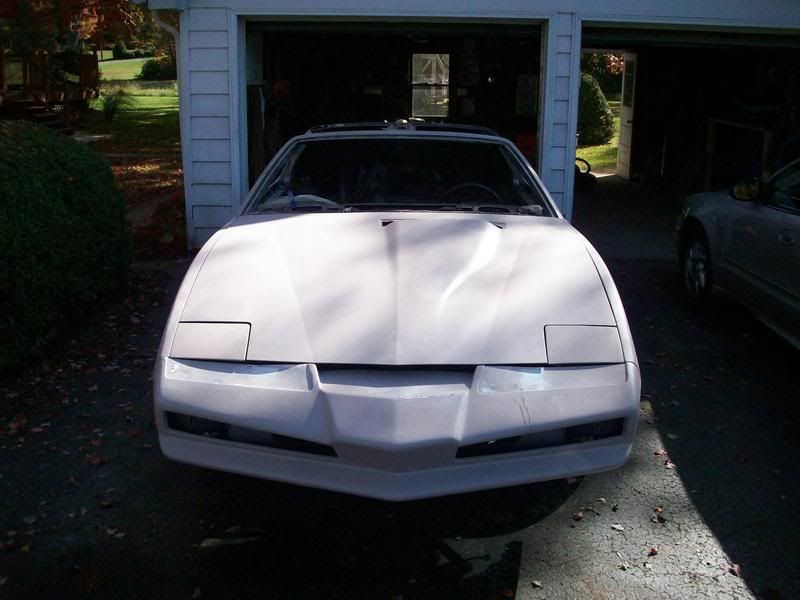
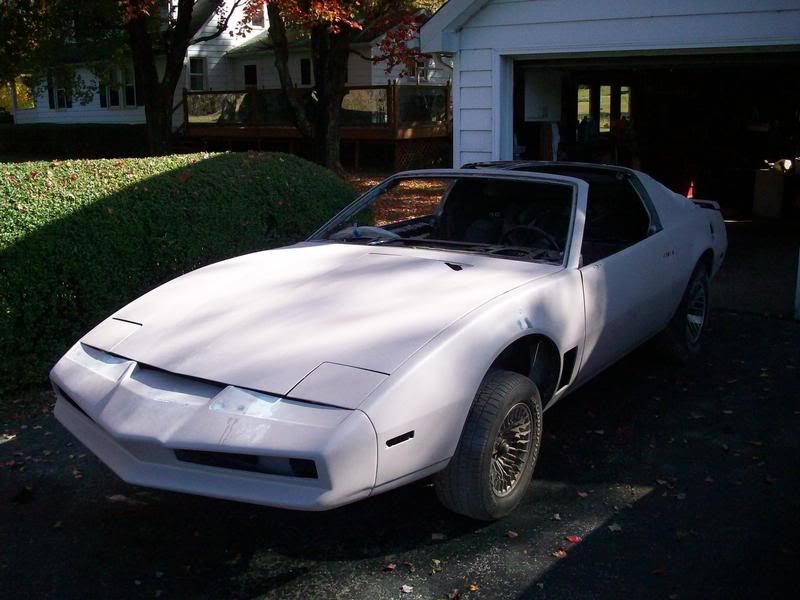
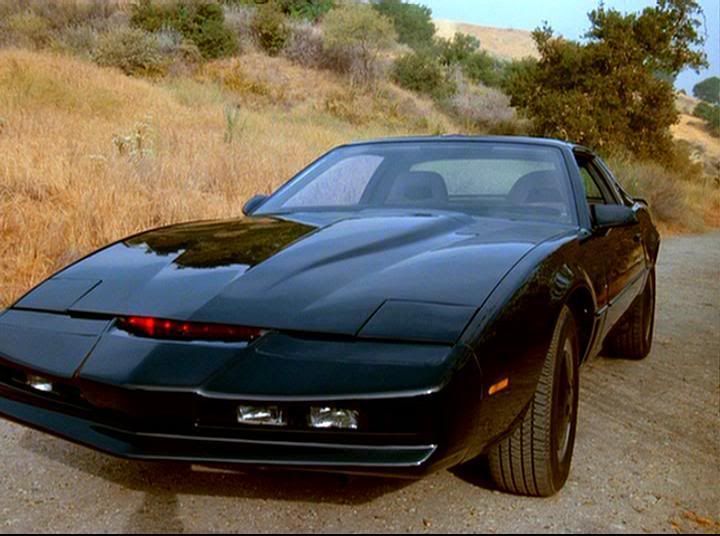
While the title of this blog may remind some of the working title of season three's "Lost Knight", this entry has little to do with that episode. After reading stories of others building their own parts, I've become inspired and decided to try my luck at sculpting a season three front nose. There aren't any vendors out there who offer a truly accurate season three nose, so using numerous reference photos and dimensions from an actual season three screen used nose, I'm going to give it a go. If all goes well, what I create with look exactly like this:


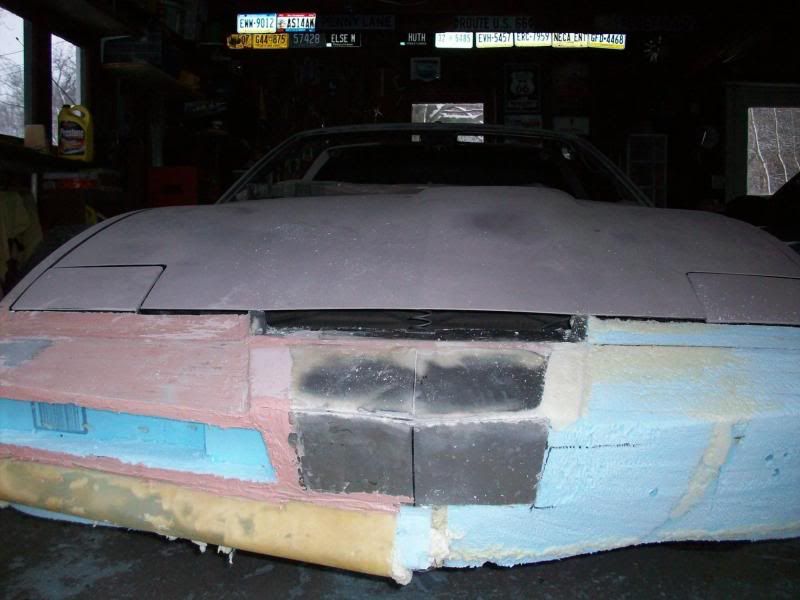
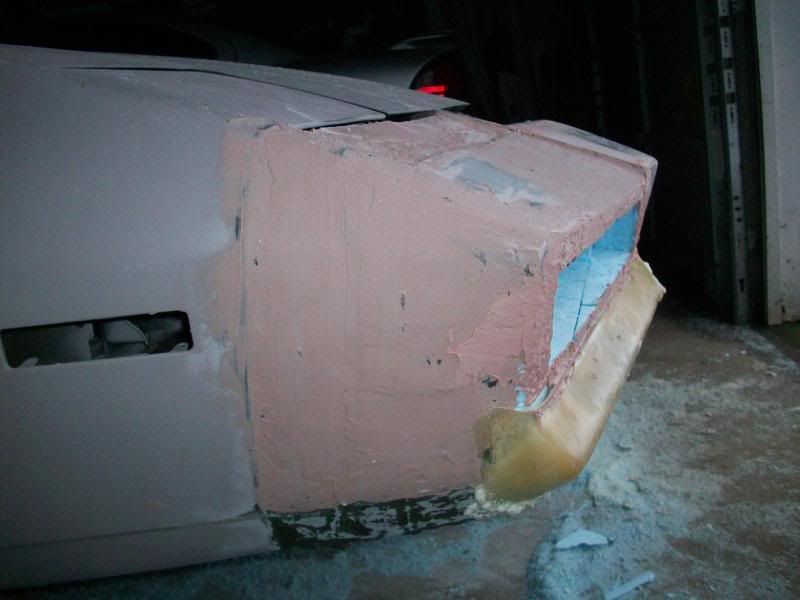
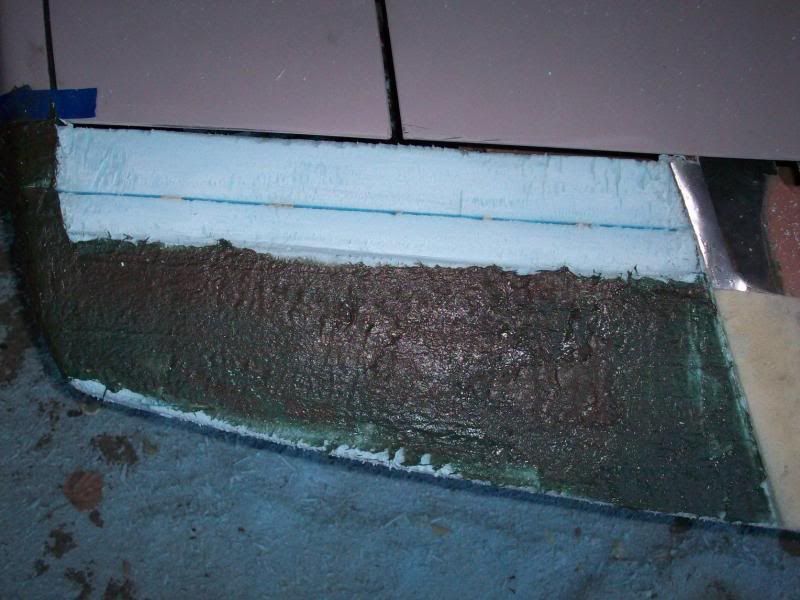
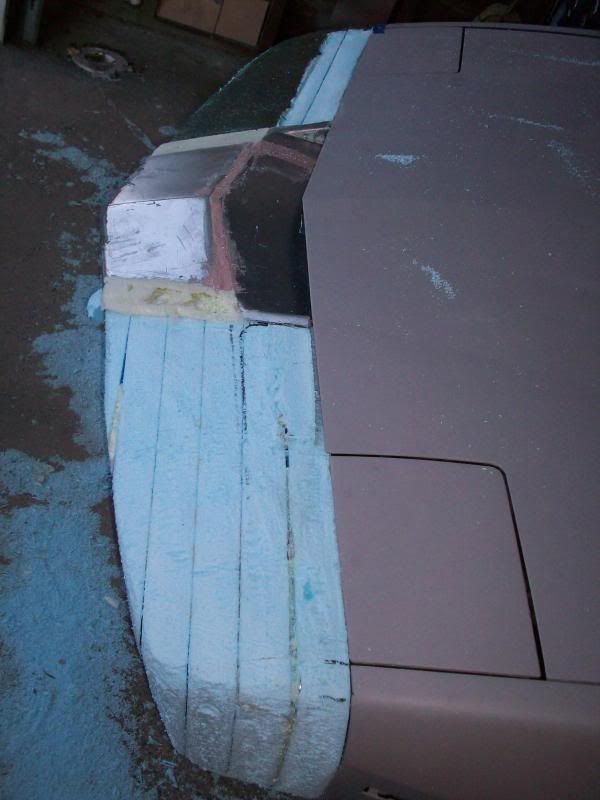
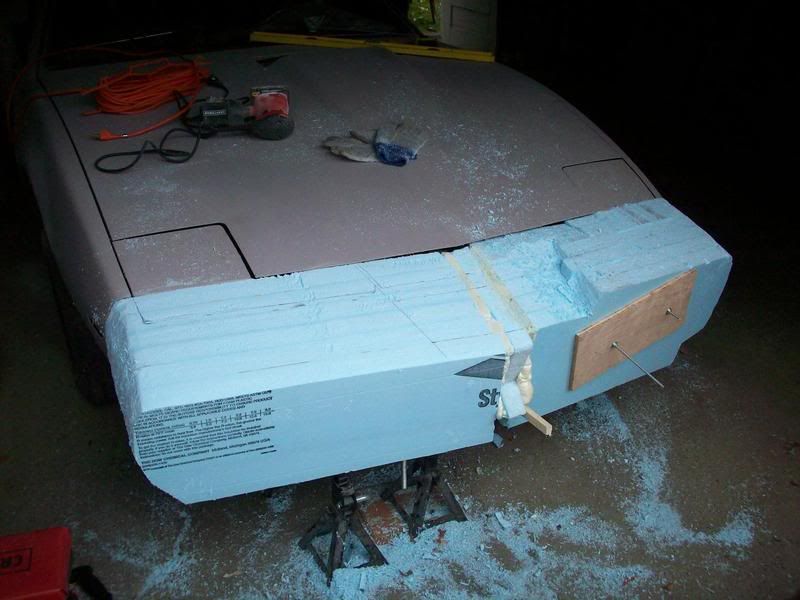
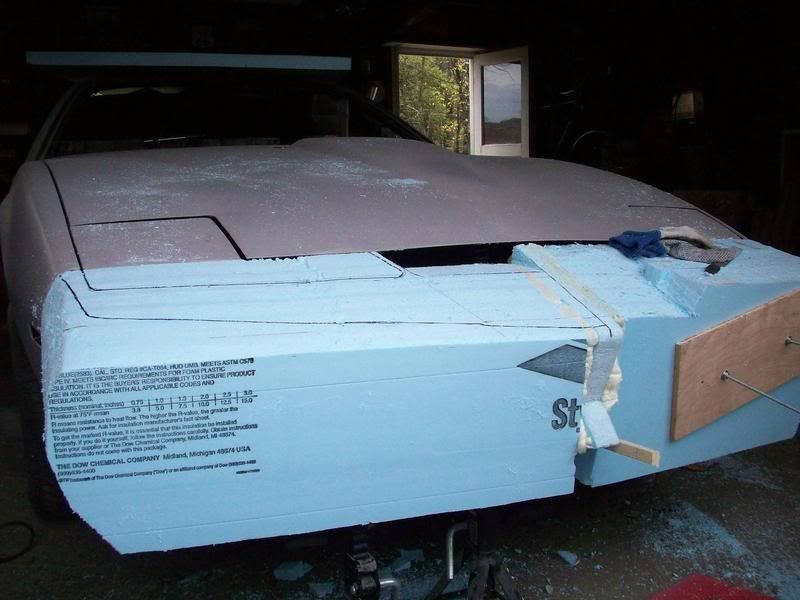
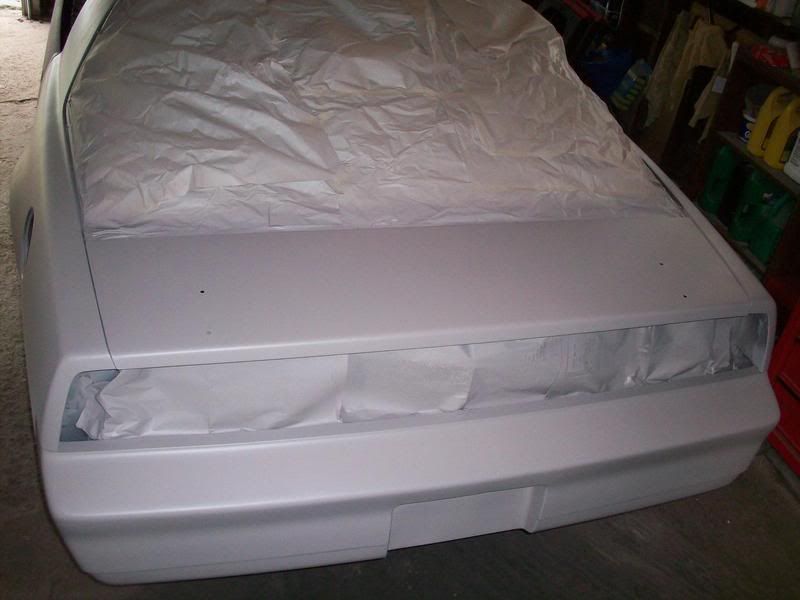
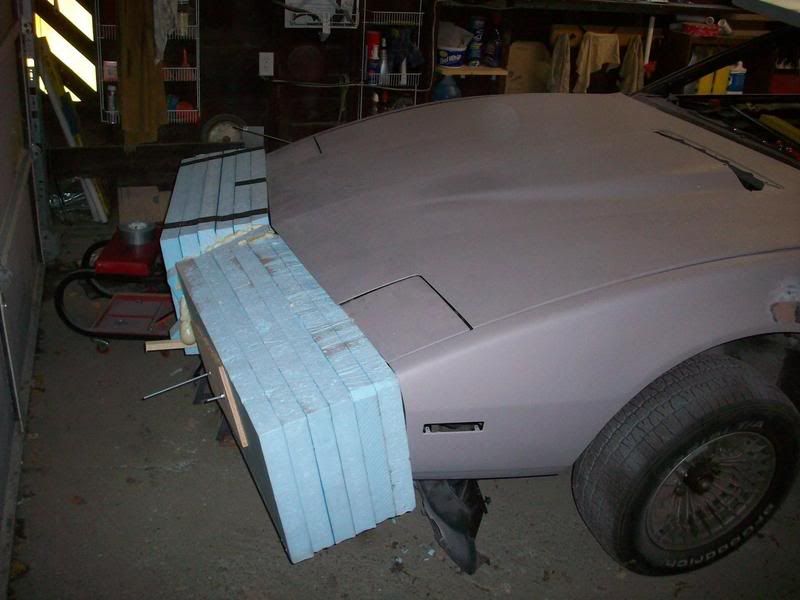
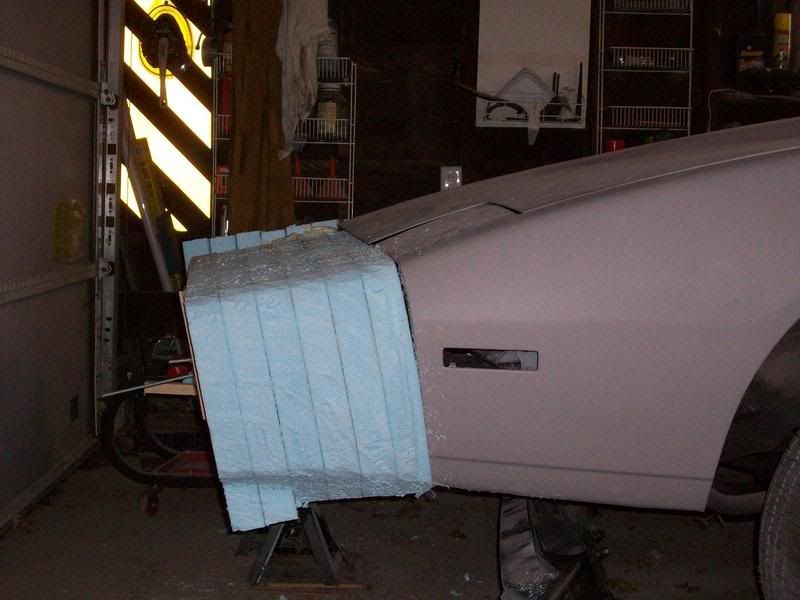
So far, I have the foam boards mounted on the car. The tape is on there while the adhesive dries:


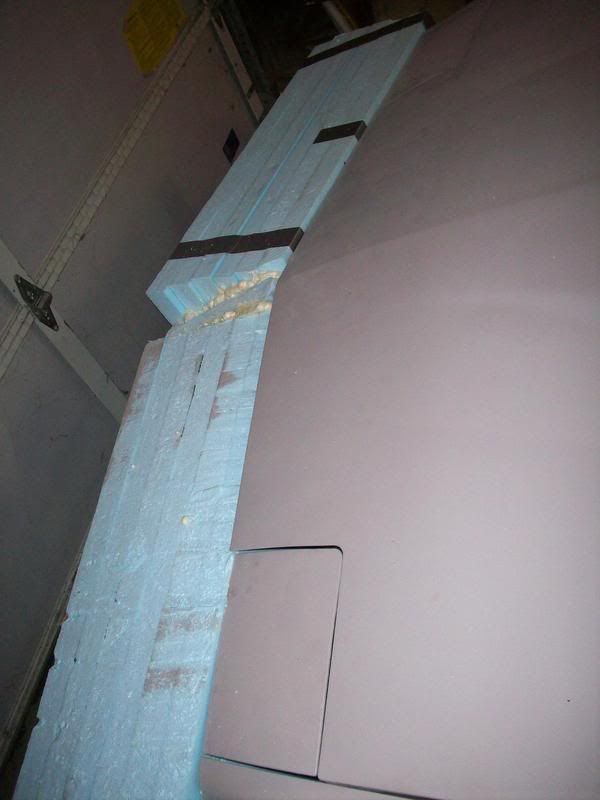
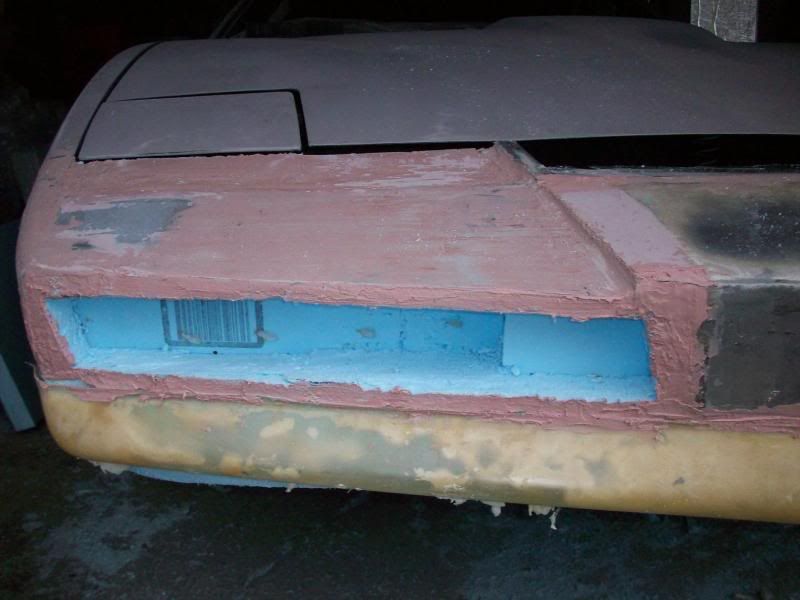
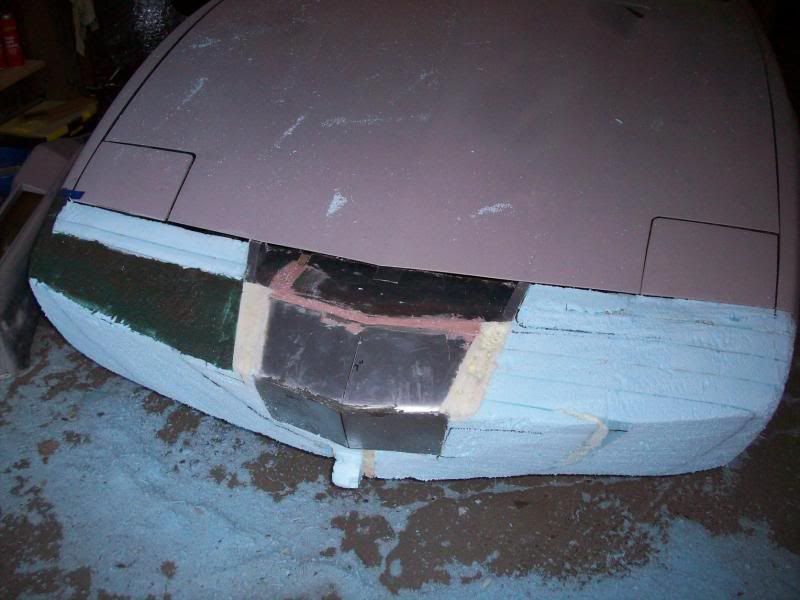
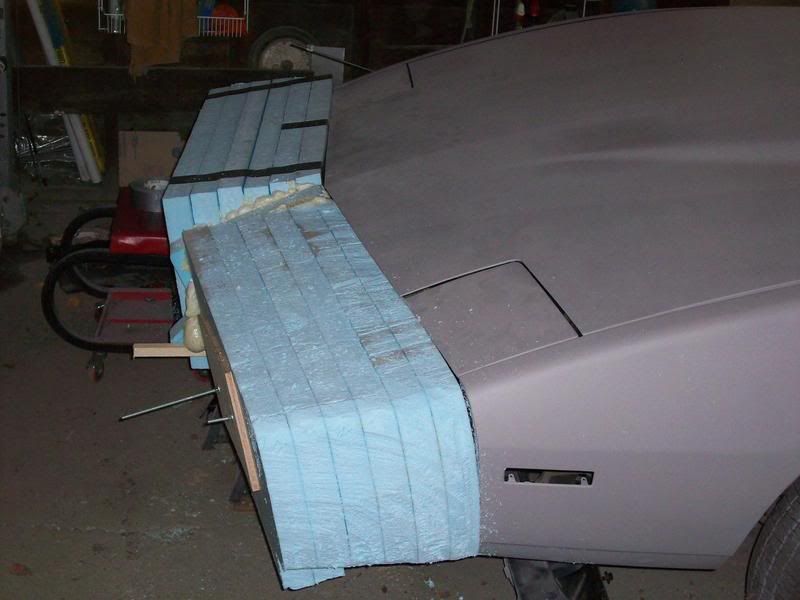
A hint of the bumper appears in the center piece I carved. This will serve as a guide while I cut away excess foam:


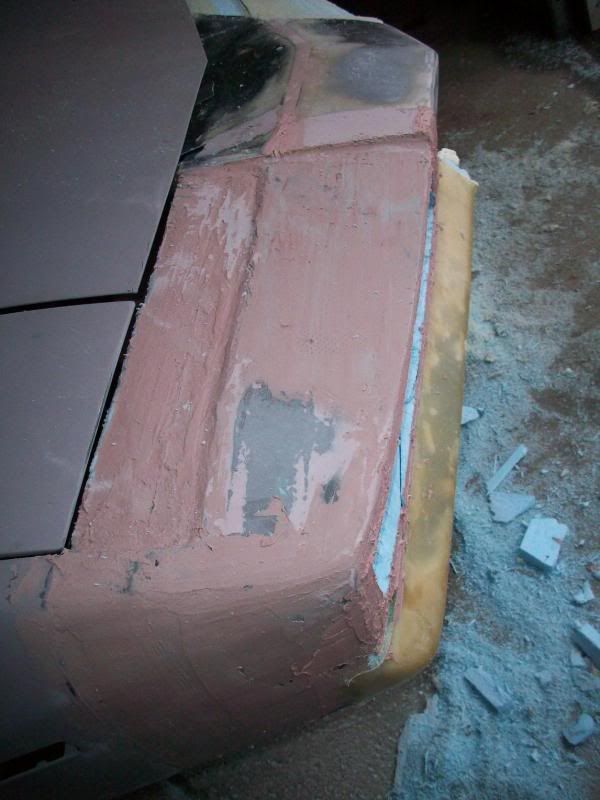
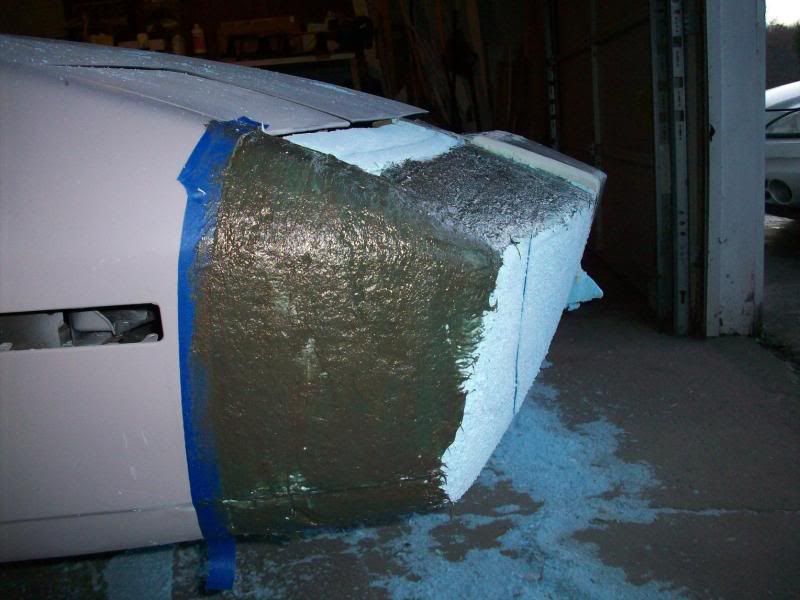
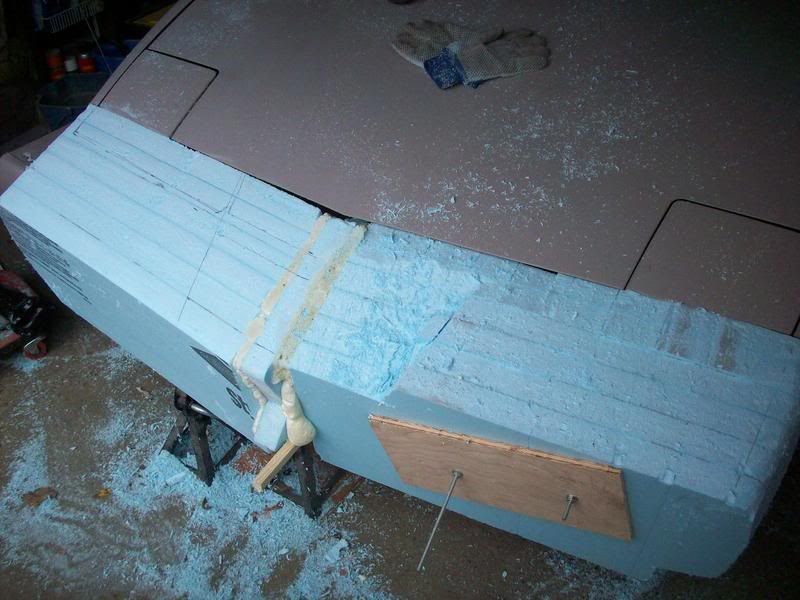
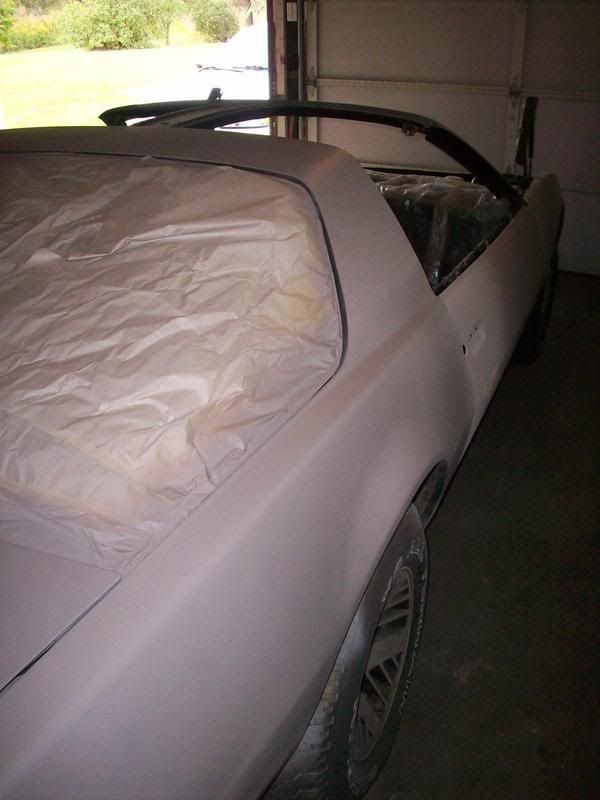
I began to shape the one side...just for kicks:


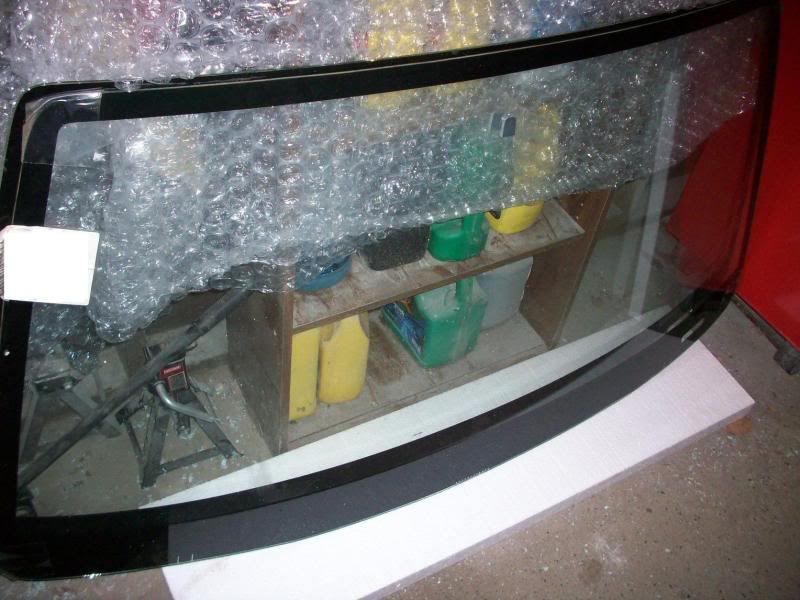
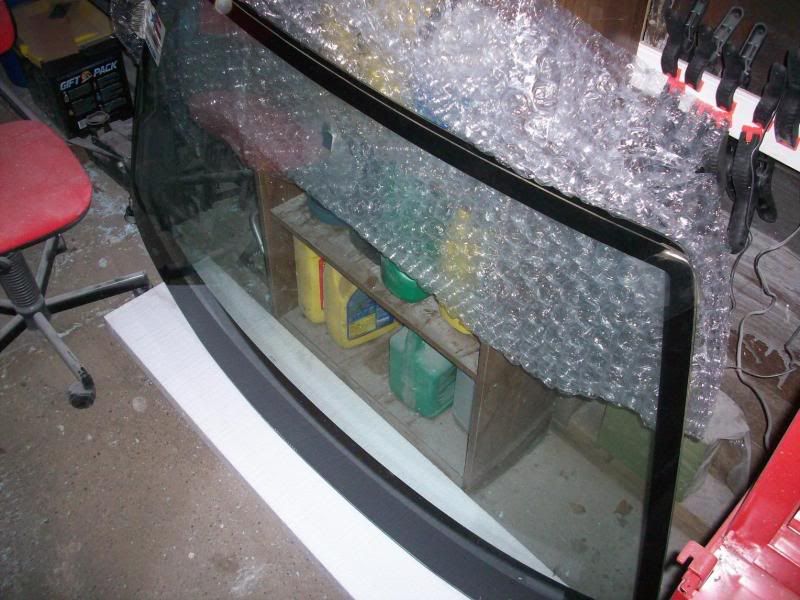
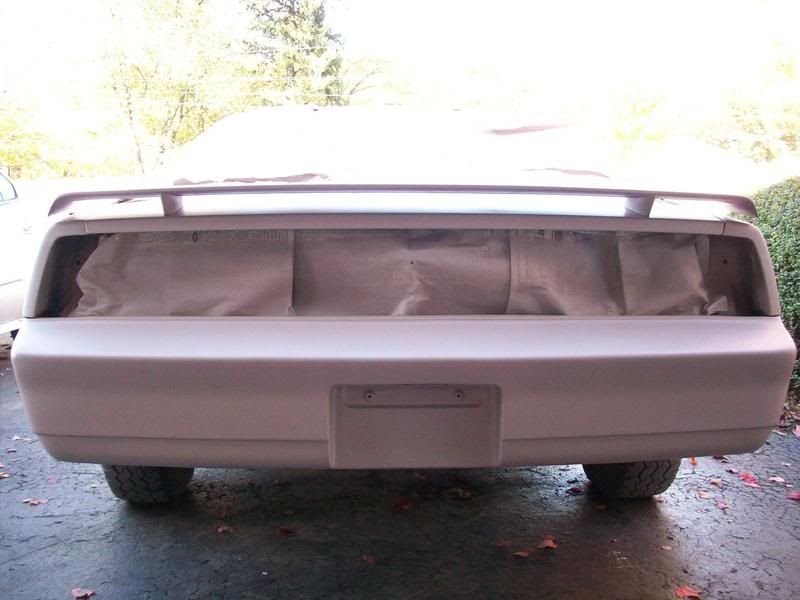
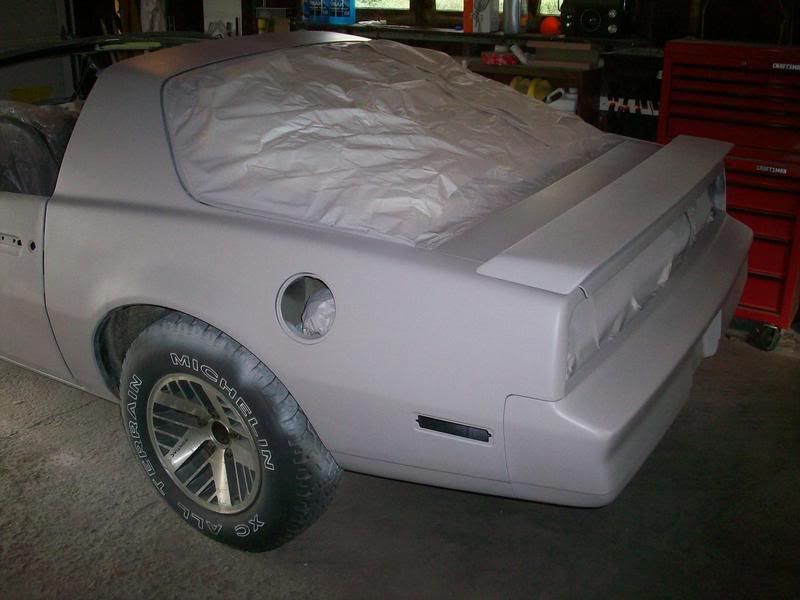
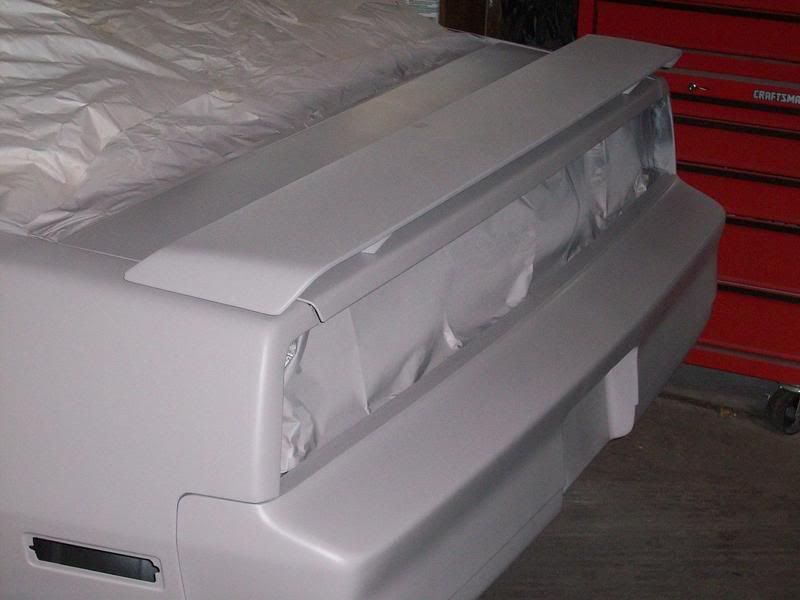
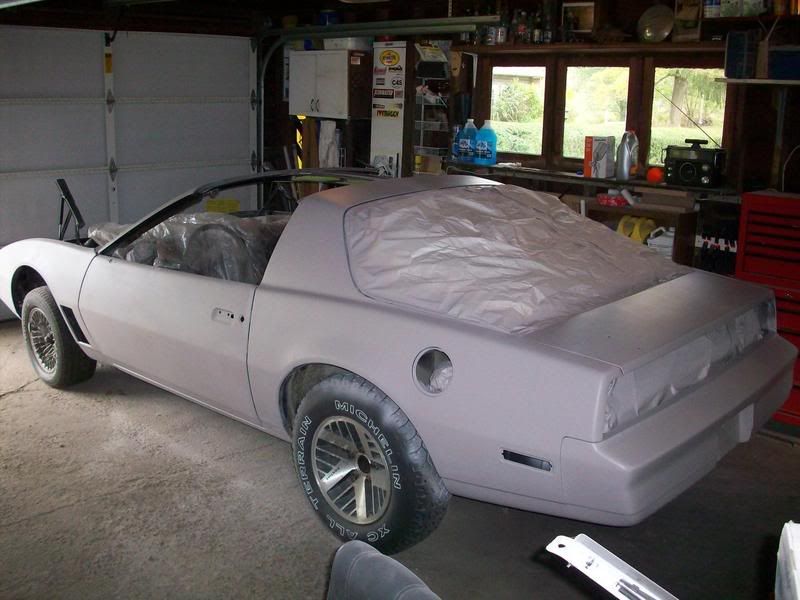
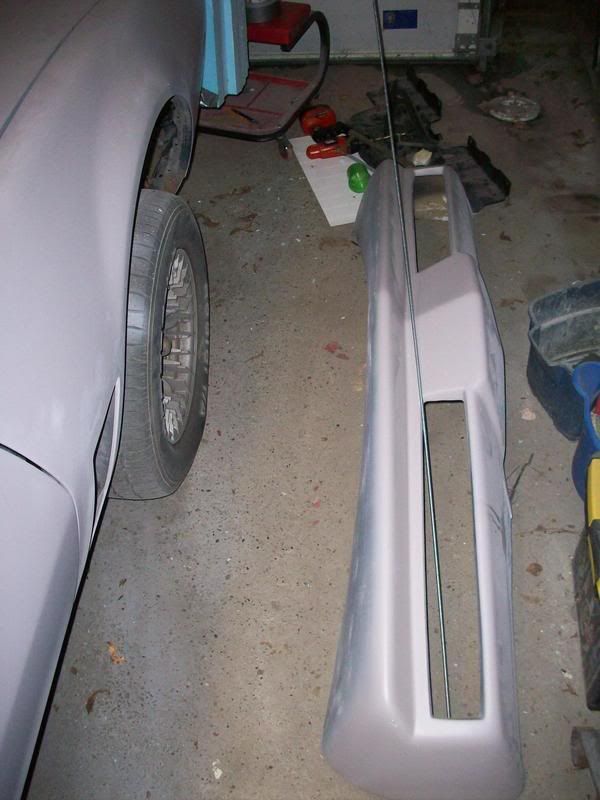
Here's the bumper I had on my car. A very nice piece, but it's a fourth season nose:


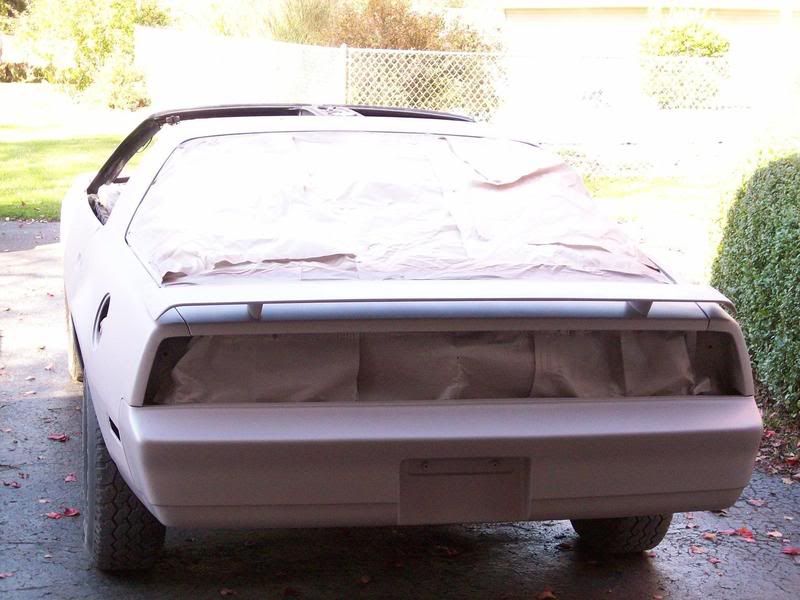
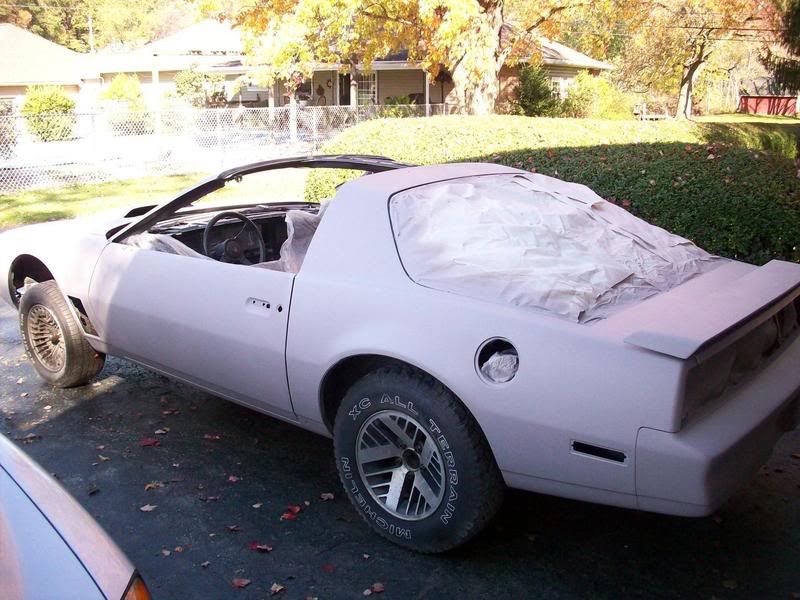
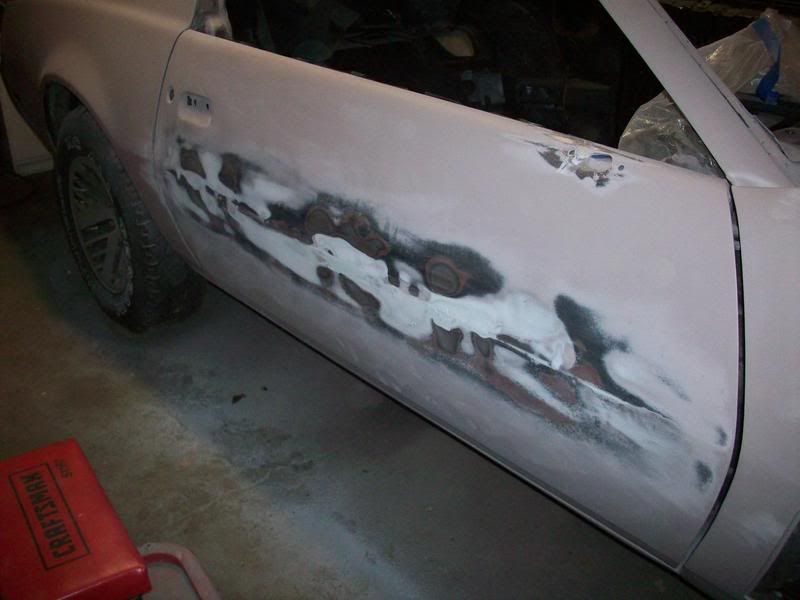
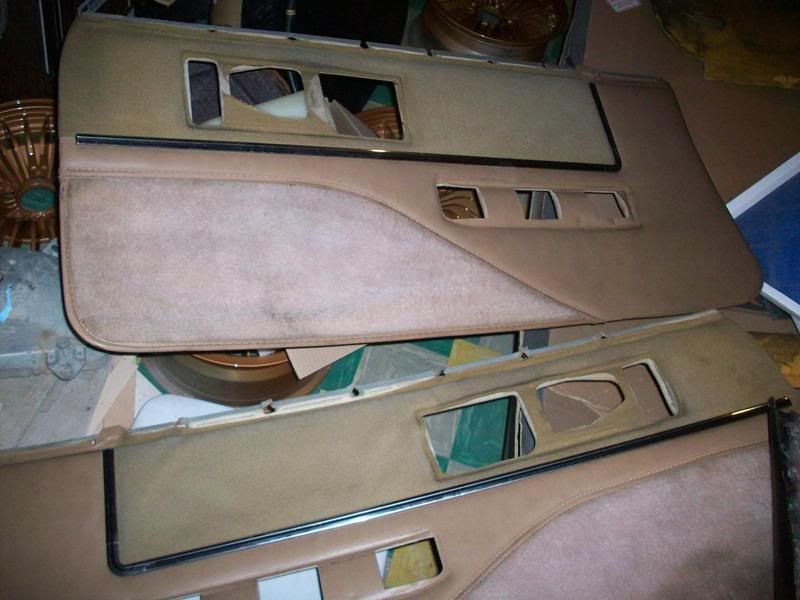
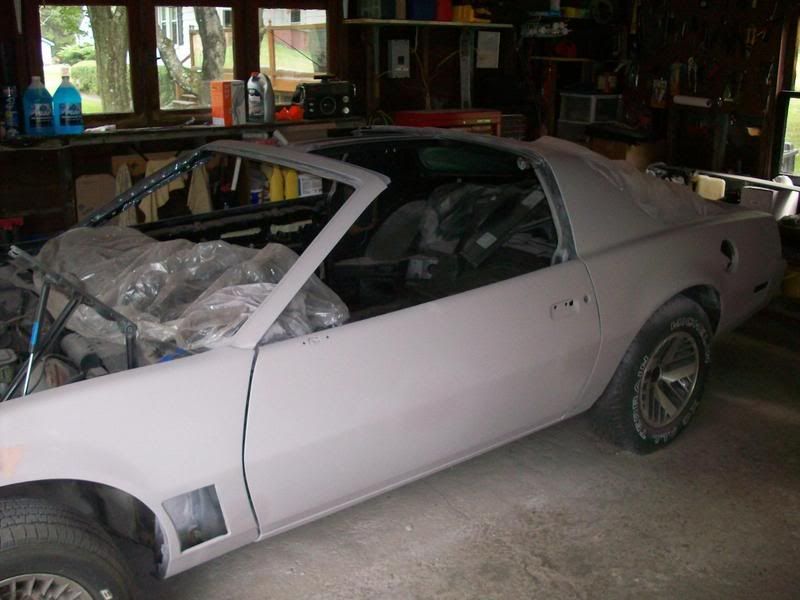
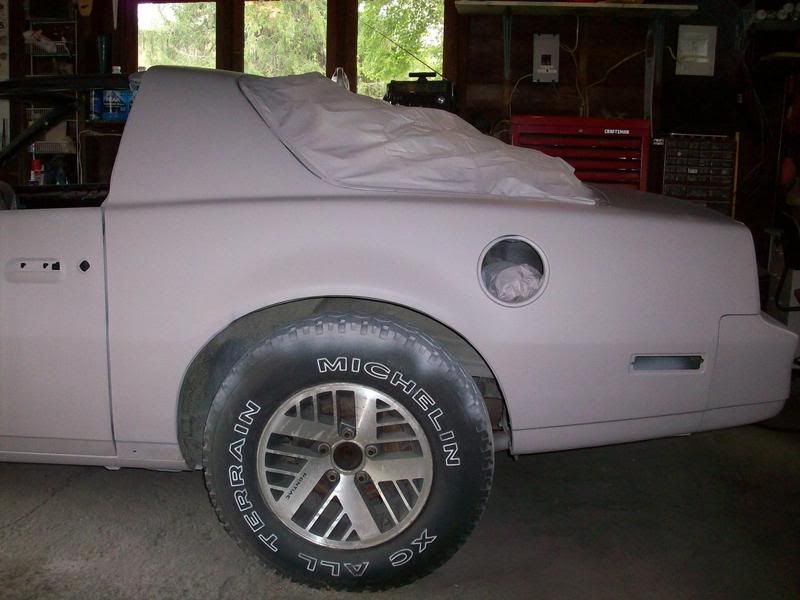
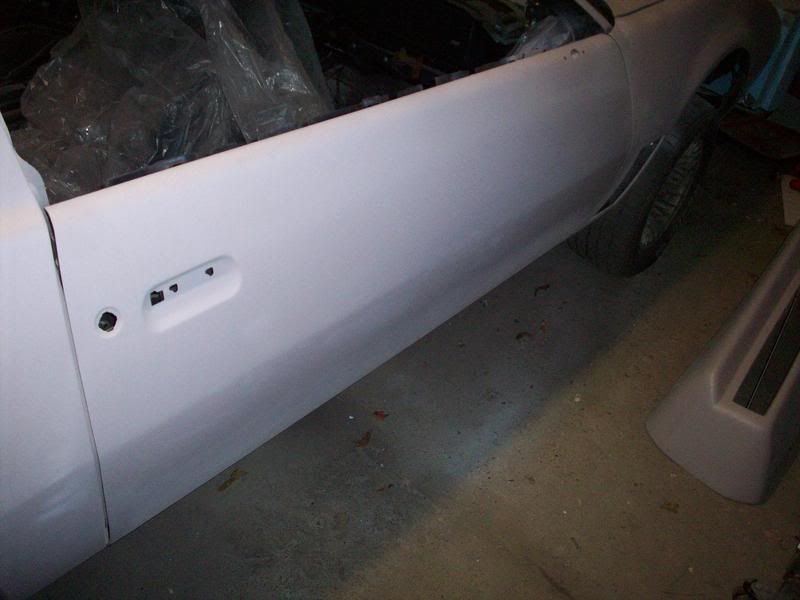
Lastly, I primed the passenger side door - the one that had all the dents. Came out smooth as silk:


More to come on this exciting project as I make more progress!

Thursday, October 16, 2008

The Heart of the Knight

This past Saturday (10/11/08), my buddy and I pulled the seized engine of KITT. I pulled out the spark plugs and water came out! Yeah, this engine had to go. Now I can detail the engine bay before putting a new motor in:


Also, here's the body (mostly) in primer, in the sunlight. With the passenger door smooth and that rust hole fixed (not pictured), the car is ready for another coat of primer:


Thursday, October 9, 2008

I'm a Horrible Blogger

Sorry for the lack of updates! I've been very busy with other things lately, but I did manage to get some work in on KITT. The passenger side door had a lot of minor dings in it so after some putty and sanding, I'm proud to say it's smooth now:


No more antenna hole!


I posted this on the board, but can anyone tell me if this differential cover and metal tag are stock? The tag reads, "Use Limited Slip Diff Lube Only":


One of the most important things in building this car as accurately as possible is the interior. Beyond the dash, the seat material must be the same as what's seen on the show. That means tracking down 1982 Tan Parella cloth, no easy feat...I've been lucky enough to obtain a set of mint rear seat covers and nearly mint door panels. I will be carefully cleaning and dying the original Parella cloth so it's back to its unfaded glory:


That's it for now!

Sunday, September 28, 2008

Where's Waldo - Knight Rider Parts Edition

A few updates - yesterday was a busy day for me (most Saturdays are) in terms of working on FutureKITT. First, a side project, somewhat related to KITT - currently, my 15 inch turbocast rims and caps are on my 1984 stock Trans Am. I have a set of 14's, but in my opinion, they are too small for the wheel openings (and series inaccurate). So I found a set of 15 inch 1984 turbine rims (the ones that look like the turbocasts, but without the hubcaps) at a junkyard for $30 for the set! I sandblasted them and then painted them the same gold color that I used as an accent on my 84 T/A. Once I get tires mounted, these will replace the turbocasts on my stock T/A:


I went to my garage attic the other day and realized just how many KITT and Trans Am parts I have accumulated over the years. See if you can spot the parts!


And, finally, last but not least, I finished priming the car. Behold it's light pink primerness!